Hi everyone,
I’ve been working on this project for a while and now I’m really excited about finally sharing it with you.
It all has started with my idea of a fancy shabby chic dressing table. As I didn’t want to spend a small fortune, I decided to go for a DIY project.
For this project I purchased this chest of drawers from IKEA.
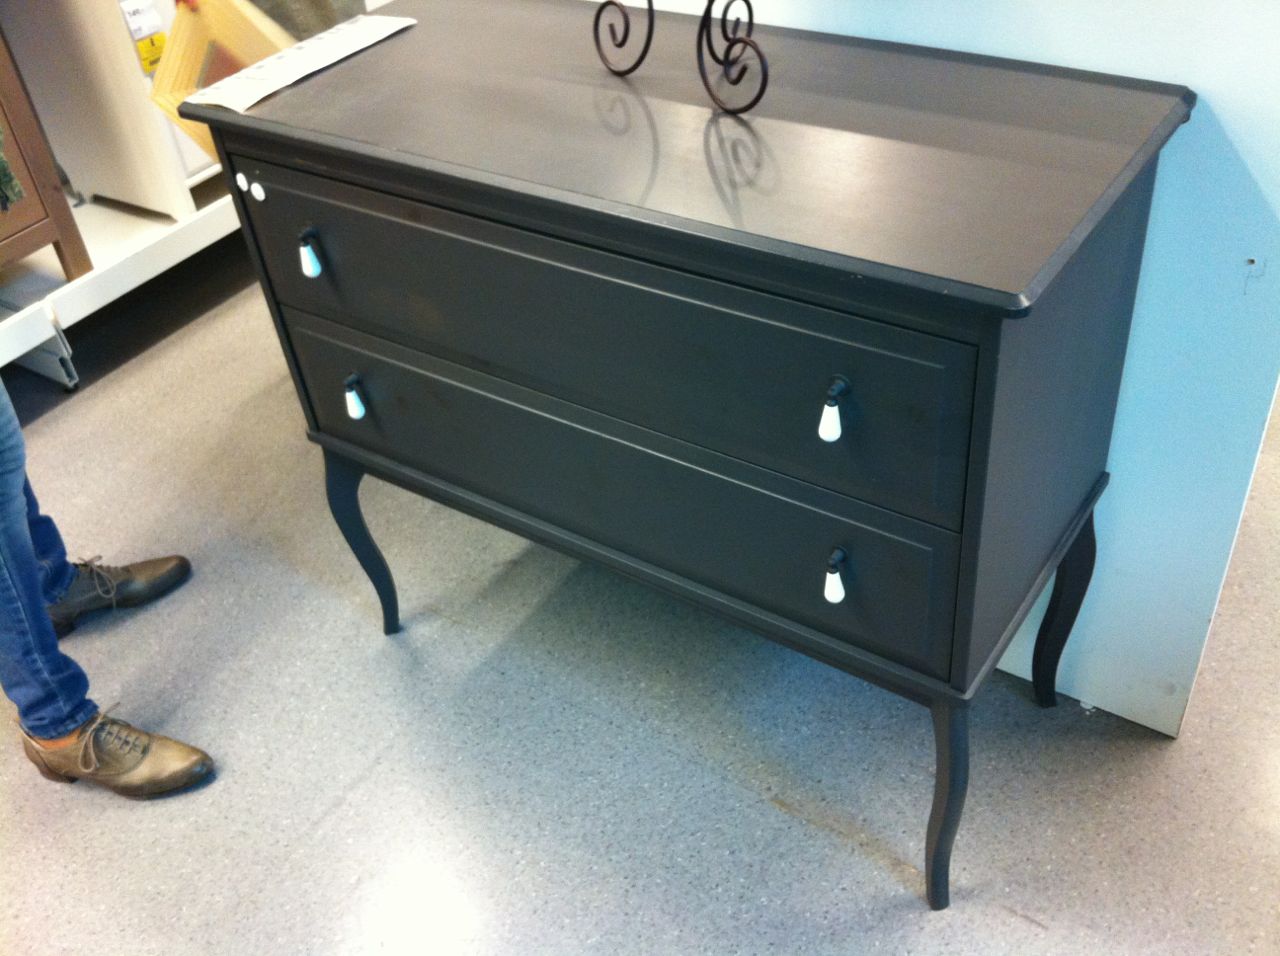
The curvy legs give this small chest a dreamy and romantic character, which is spot on for any bedroom, right?
After plenty of sanding, a few coats of paint, and replacing the drawer knobs with flower shaped ones, my new dressing table was borne.
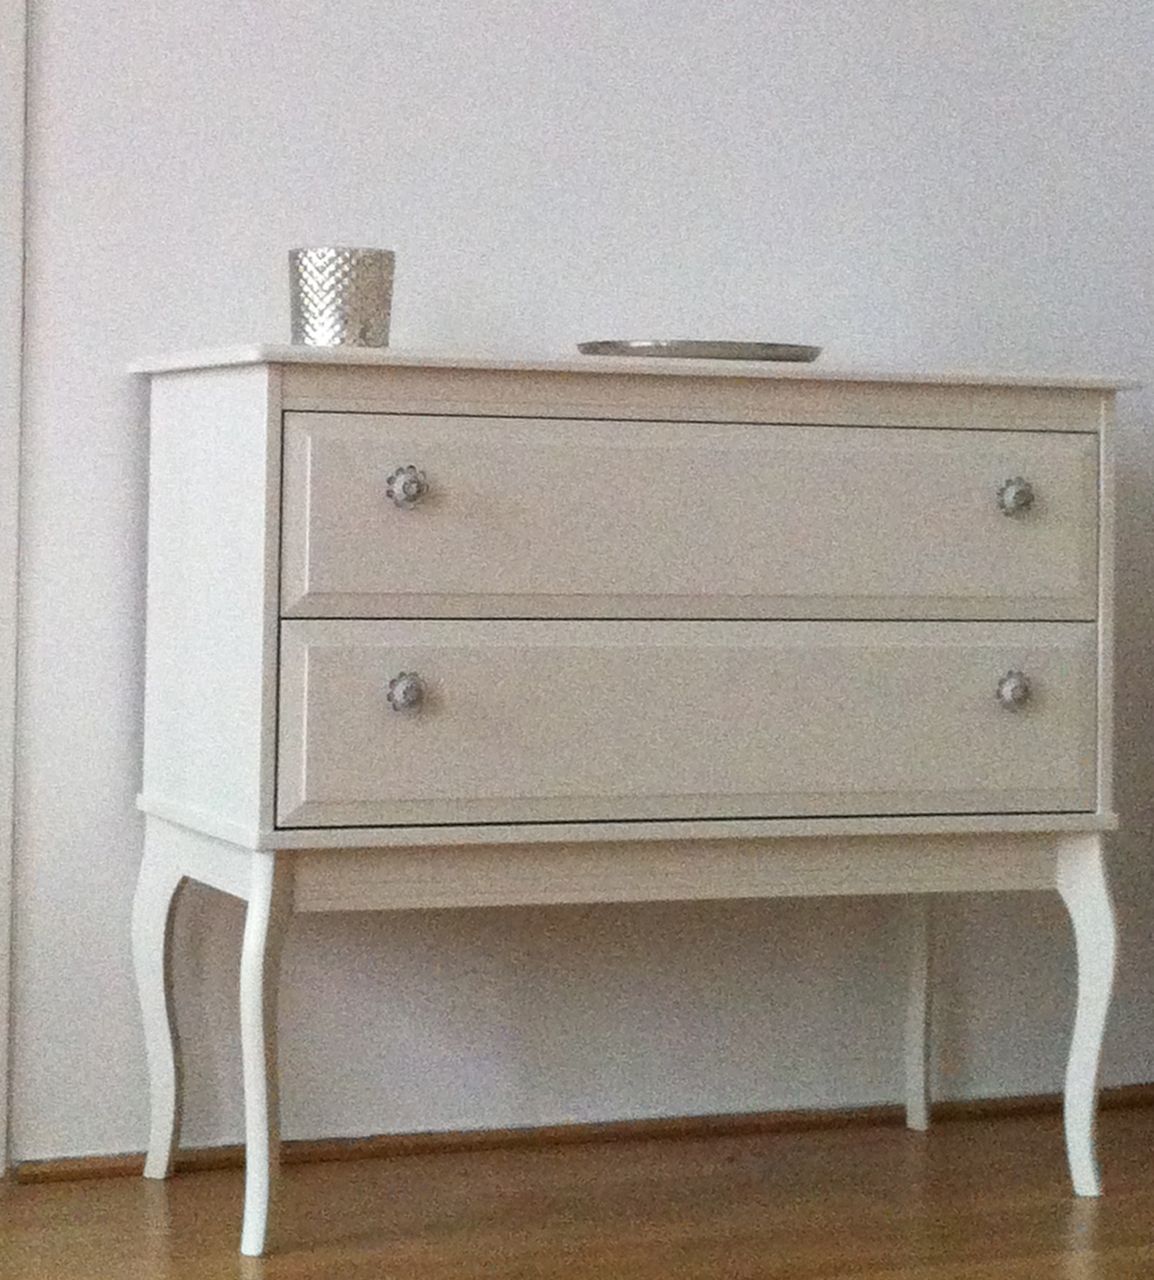
And this is what my hubby and I did with the solid wood furniture:
- With medium to fine-grit sandpaper (80-120) we firstly sanded all the pieces to give them good surfaces. There was no need to sand them down to bare wood.
- We then cleaned and wiped all the pieces.
- We just put on a thin coat of water based white paint that also included a primer. We mainly used a small foam roller and a brush in the difficult edges and hard to reach places. We started with the brush first.
- We waited at least 12 hours for the paint to dry.
- We repeated the steps (1-4) about 2-3 times until the old paint was well covered. For in-between sanding we used the fine-grit paper.
- Next we assembled the chest and simpy put the flower shaped knobs into the pre-drilled holes.
- Finally, I grabed a knife and medium-grit sanding paper to get the shabby chic look. I started with the corners and edges first. Once started, it was great fun 🙂
Have you done anything like that for your home lately? Or are you planning something similar? Please share it with us. I’d love to hear your DIY stories.
Good luck to those with plans to DIY in future!
Mahshid

5 Responses
Donna A. Hansen
Oh it’s beautiful! I love the new flower shaped knobs. It looks good on that white wall. I bet you had a lot of fun redoing this table. Great job!
T2F
Hi Donna, thank you for your visit. Indeed, it was great fun.
Uzo
wow , i love it. You guys transformed it , i love the colour. Really Nice.
StyleandBeautyLounge
…
T2F
Oh, so glad you like it 🙂 Thank you so much dear Uzo <3
Zina
this is gorgeous! thank you for the tips!